Installation
In this section you will learn how to install Mugnsoft IDE as a browser extension.
Installation
Install Mugnsoft IDE from either the Chrome or Firefox web store.
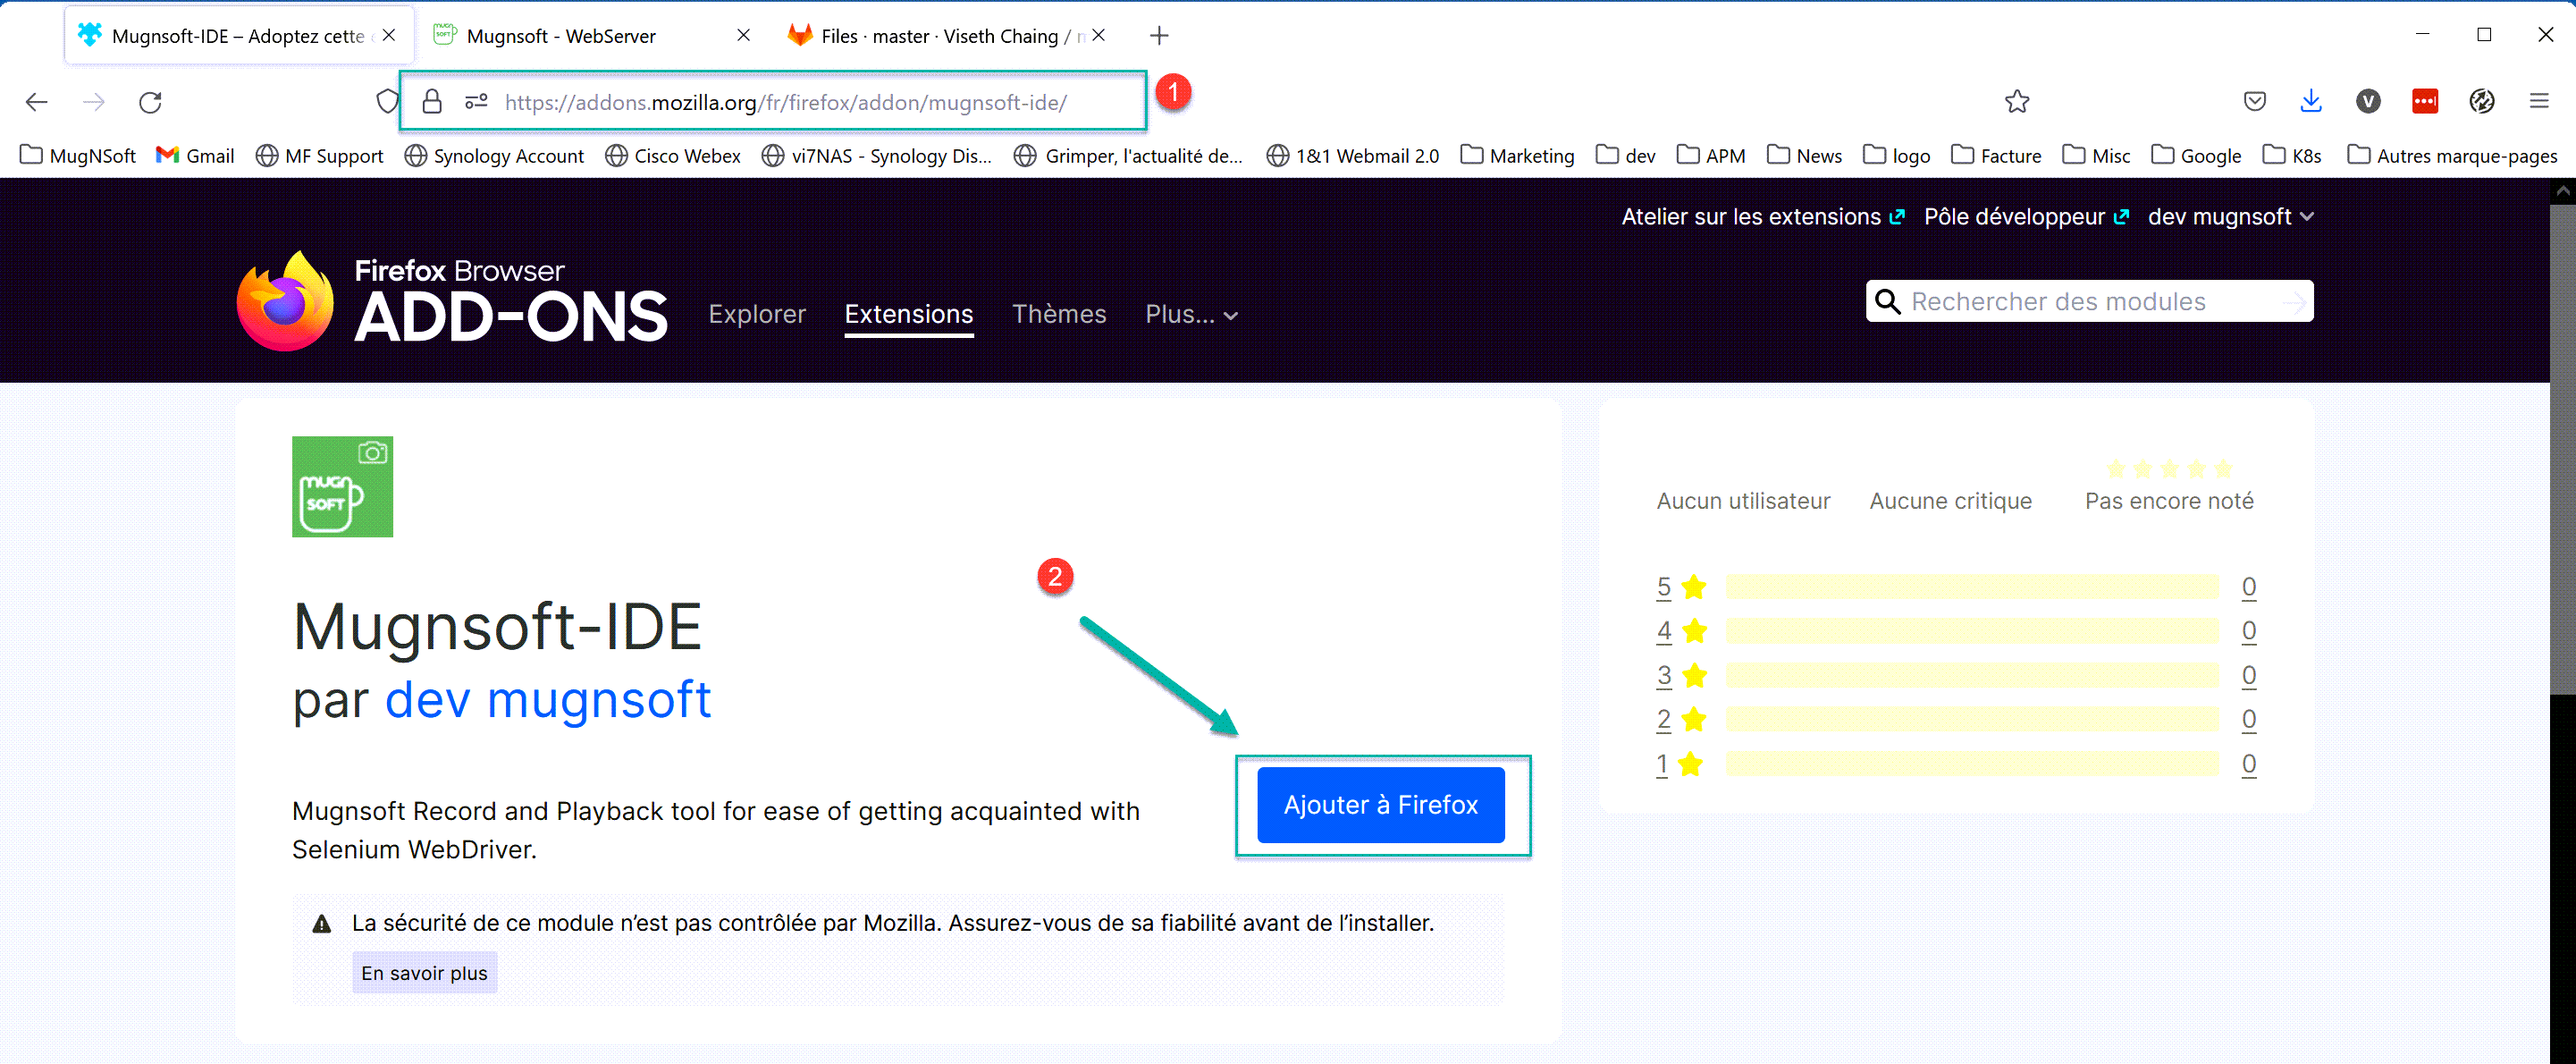
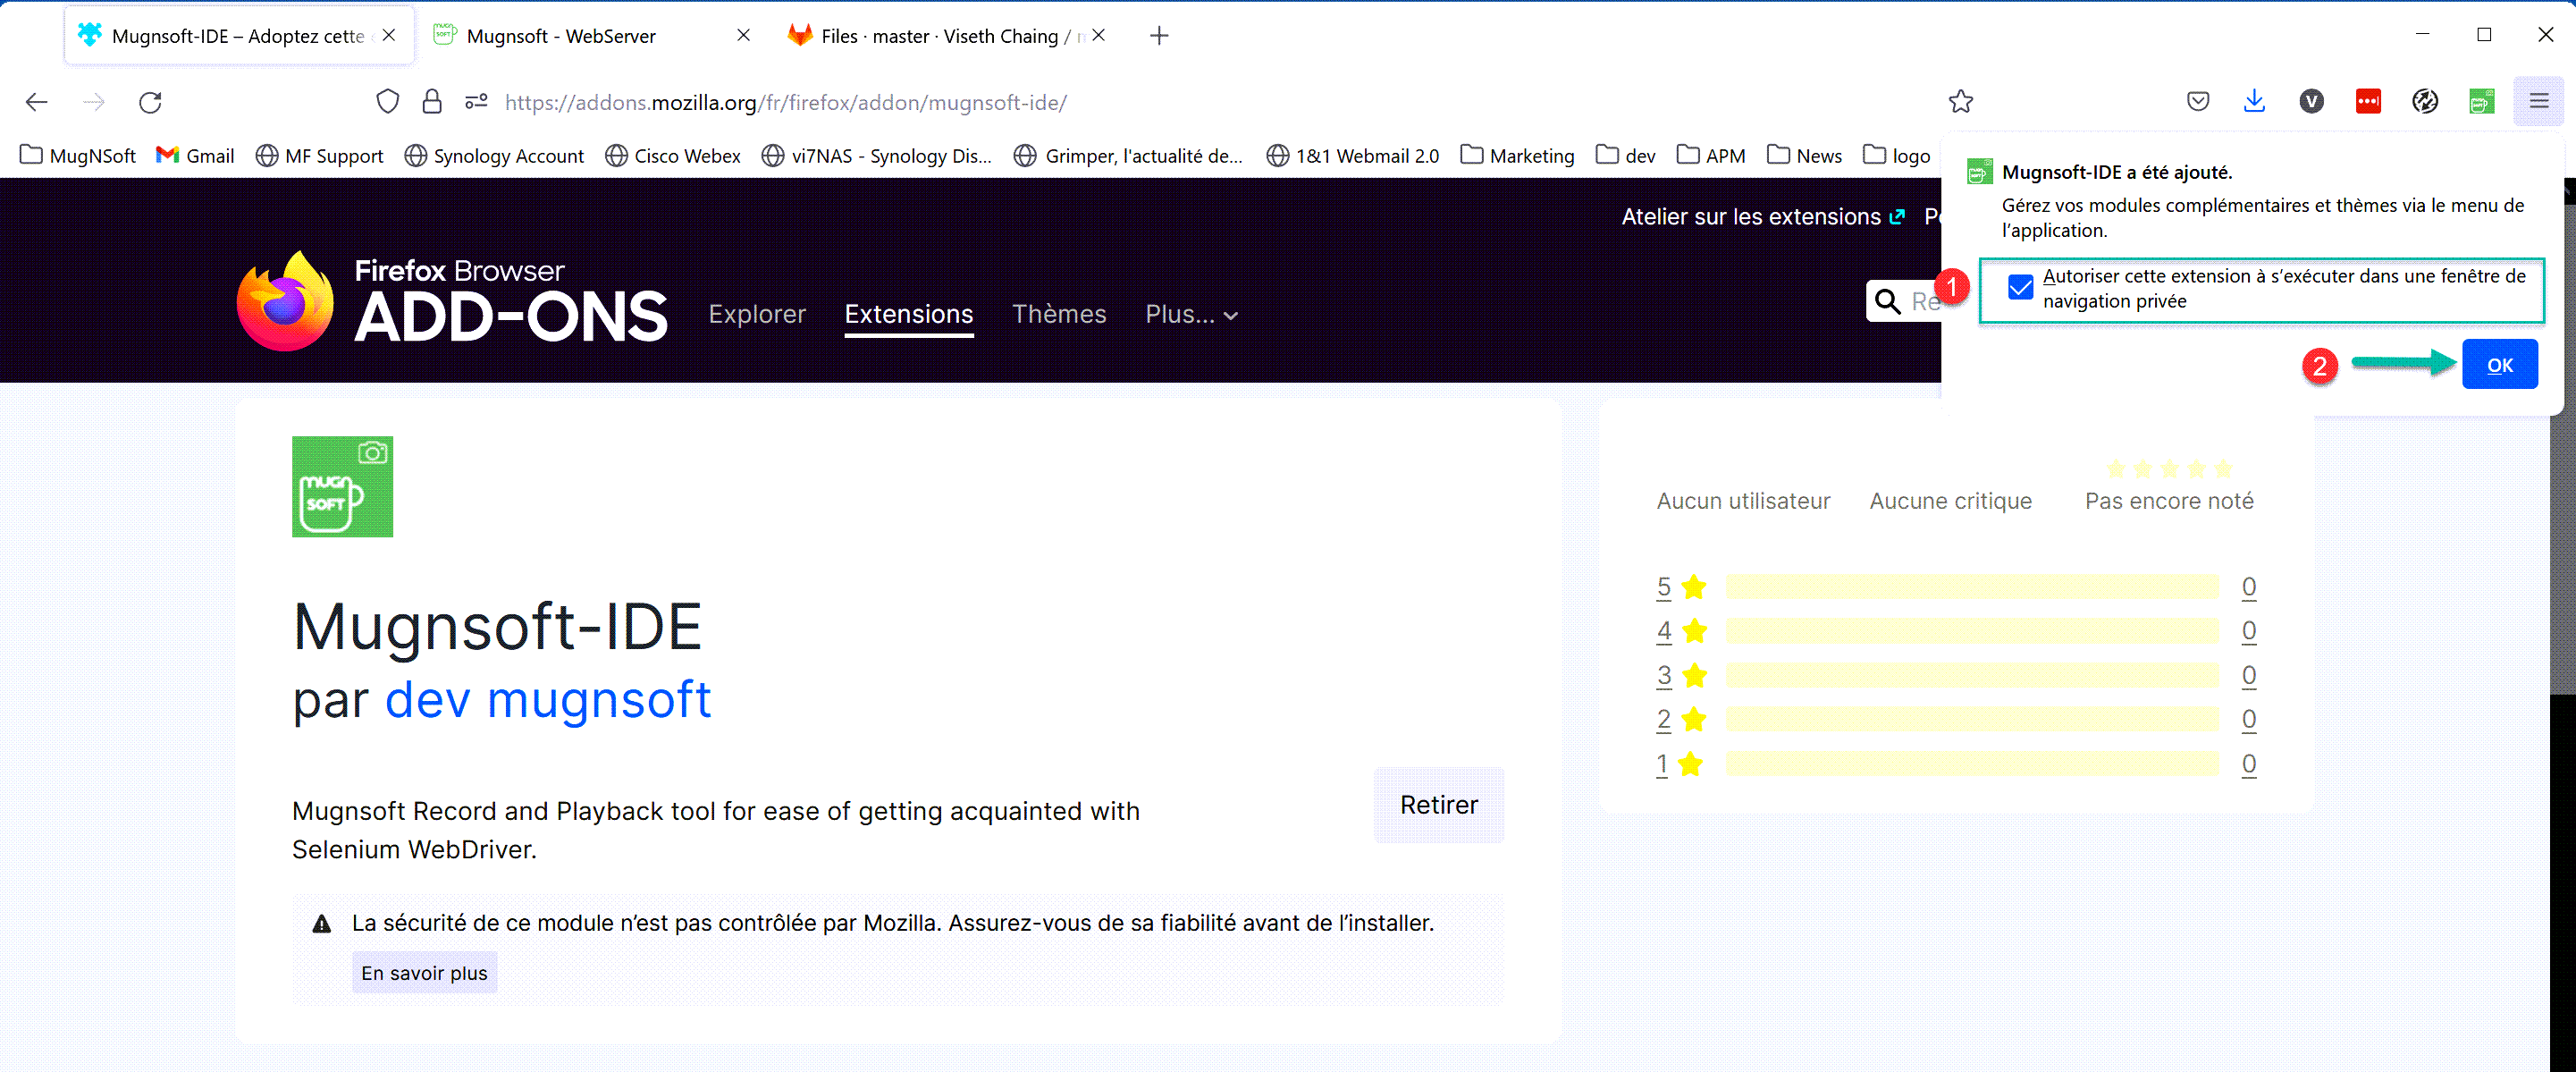
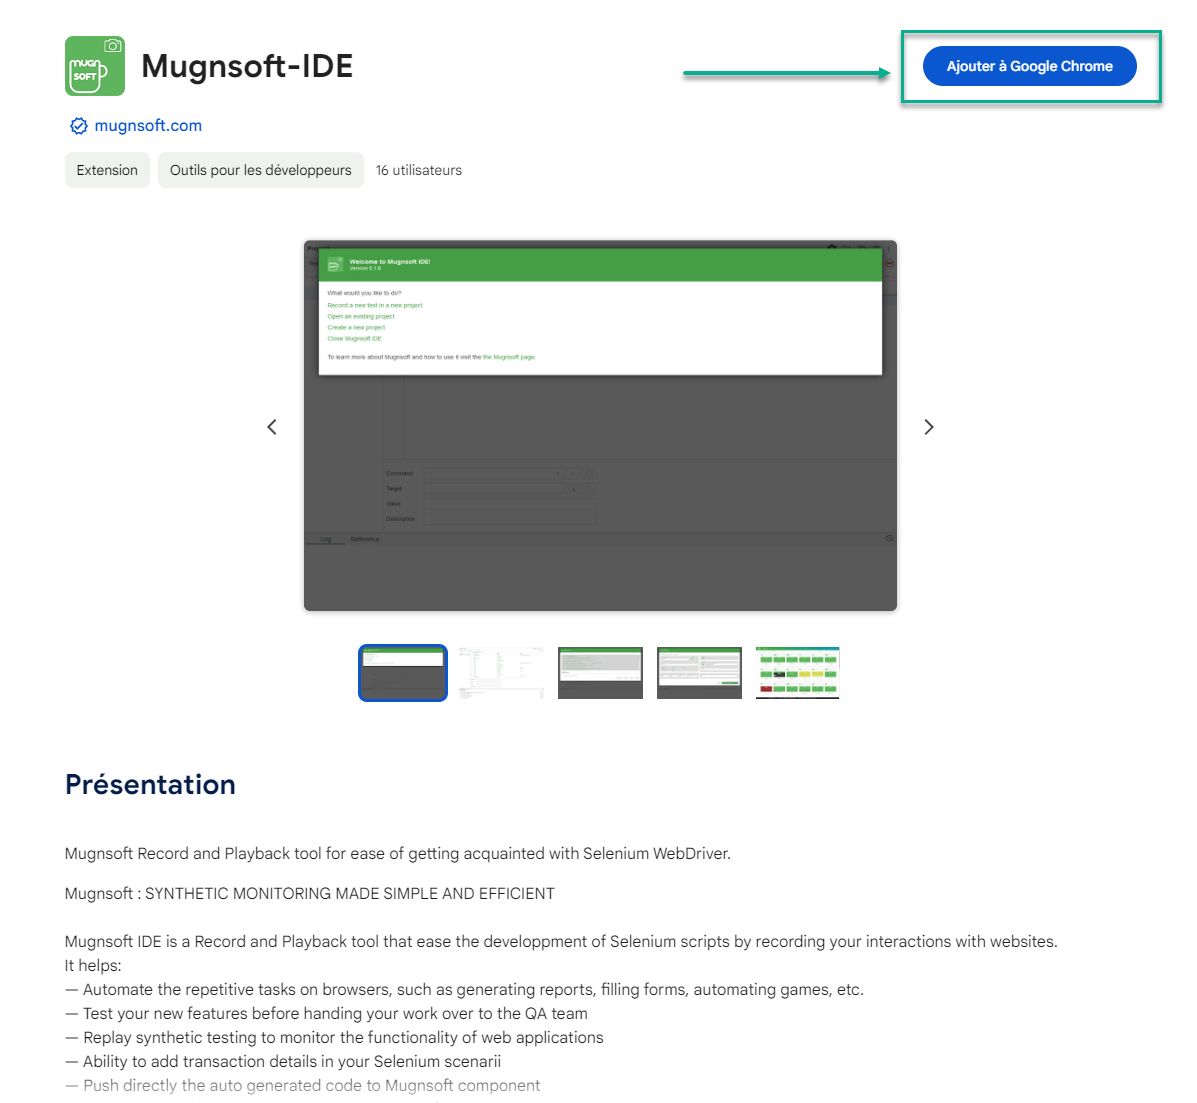
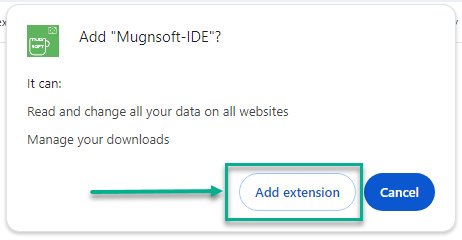
Add the browser add-on
- Firefox
- Chrome
Launch the IDE
Once installed, launch it by clicking its icon from the extension menu bar in your browser.
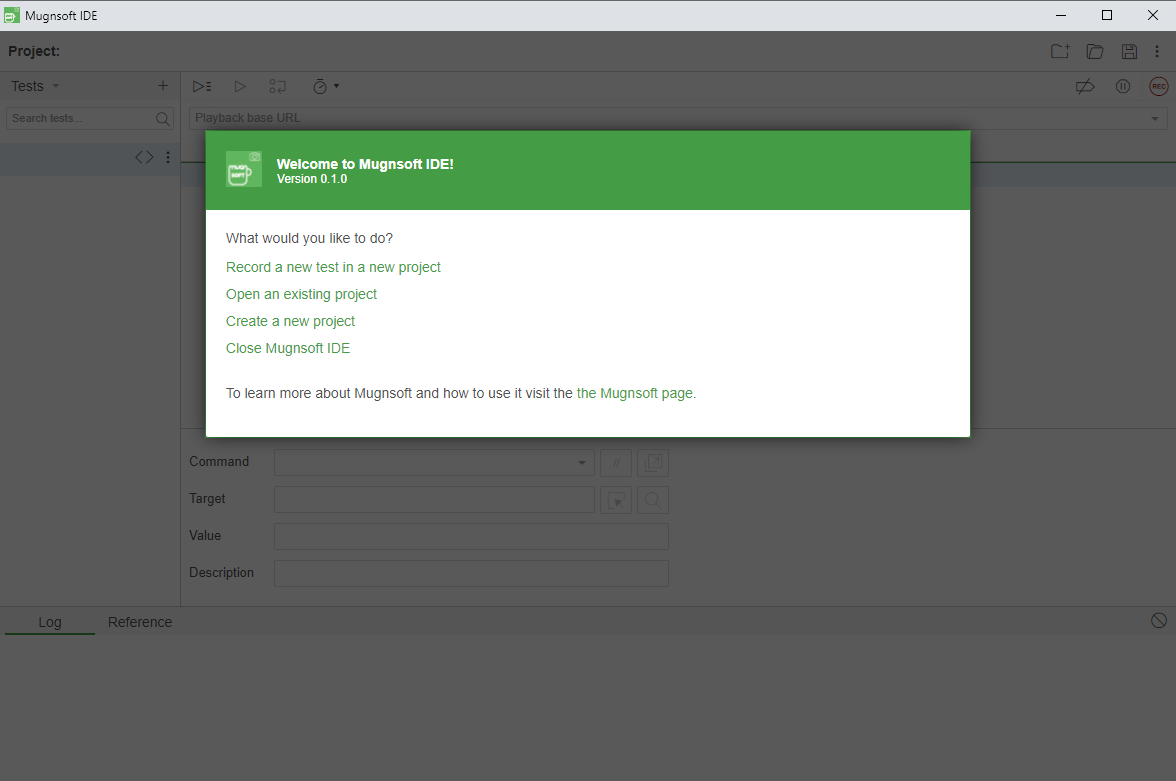
Welcome Screen
Upon launching the IDE you will be presented with a welcome dialog.
This will give you quick access to the following options:
- Record a new test in a new project
- Open an existing project
- Create a new project
- Close the IDE
If this is your first time using the IDE (or you are starting a new project), then select the first option.