Report operations
This section describes how to add/edit/delete report.
A report contains the following information: a monitor status over time (known as the monitor’s timeline), its performance over time, its successful transactions response time over time and its status distribution.
Reports are sent by email at a specified scheduled time or they can be sent immediately.
Reports are organized using tags from the monitors’one.
Reports are organized by tags
The computed list of monitors
Reports can have tag(s) and/or monitor(s). The list of monitors they refer to is computed from the tag(s) and/or monitor(s).
For instance: mon1 has tag1, mon2 has tag1 , mon3 has tag2, mon4 has no tag. A given report has monitor mon4 and has tag tag1, then the computed list of monitors for this report will be mon1, mon2, mon4. For each monitor of this list, a separated report will be sent.
Accessing reports and user privileges
Users of ADMIN group can add/edit/delete a report, as well as add/remove monitor(s) and/or tag(s) from report.
Users tagged with the same tags as the report and belonging to the USER group can add/edit/delete a report, as well as add/remove monitor(s) and/or tag(s) from report.
A report can have one or more tags.
Note:
Add a Report
- Click on the plus icon

A. Go to the Settings panel
- Set the reportname, state (enabled/disabled), optionnally a description.
- Add monitors and/or tags fields for this report.
- Add recipients emails, the Data Range over which the data should be collected, enter the scheduled date time.
B. Click on save

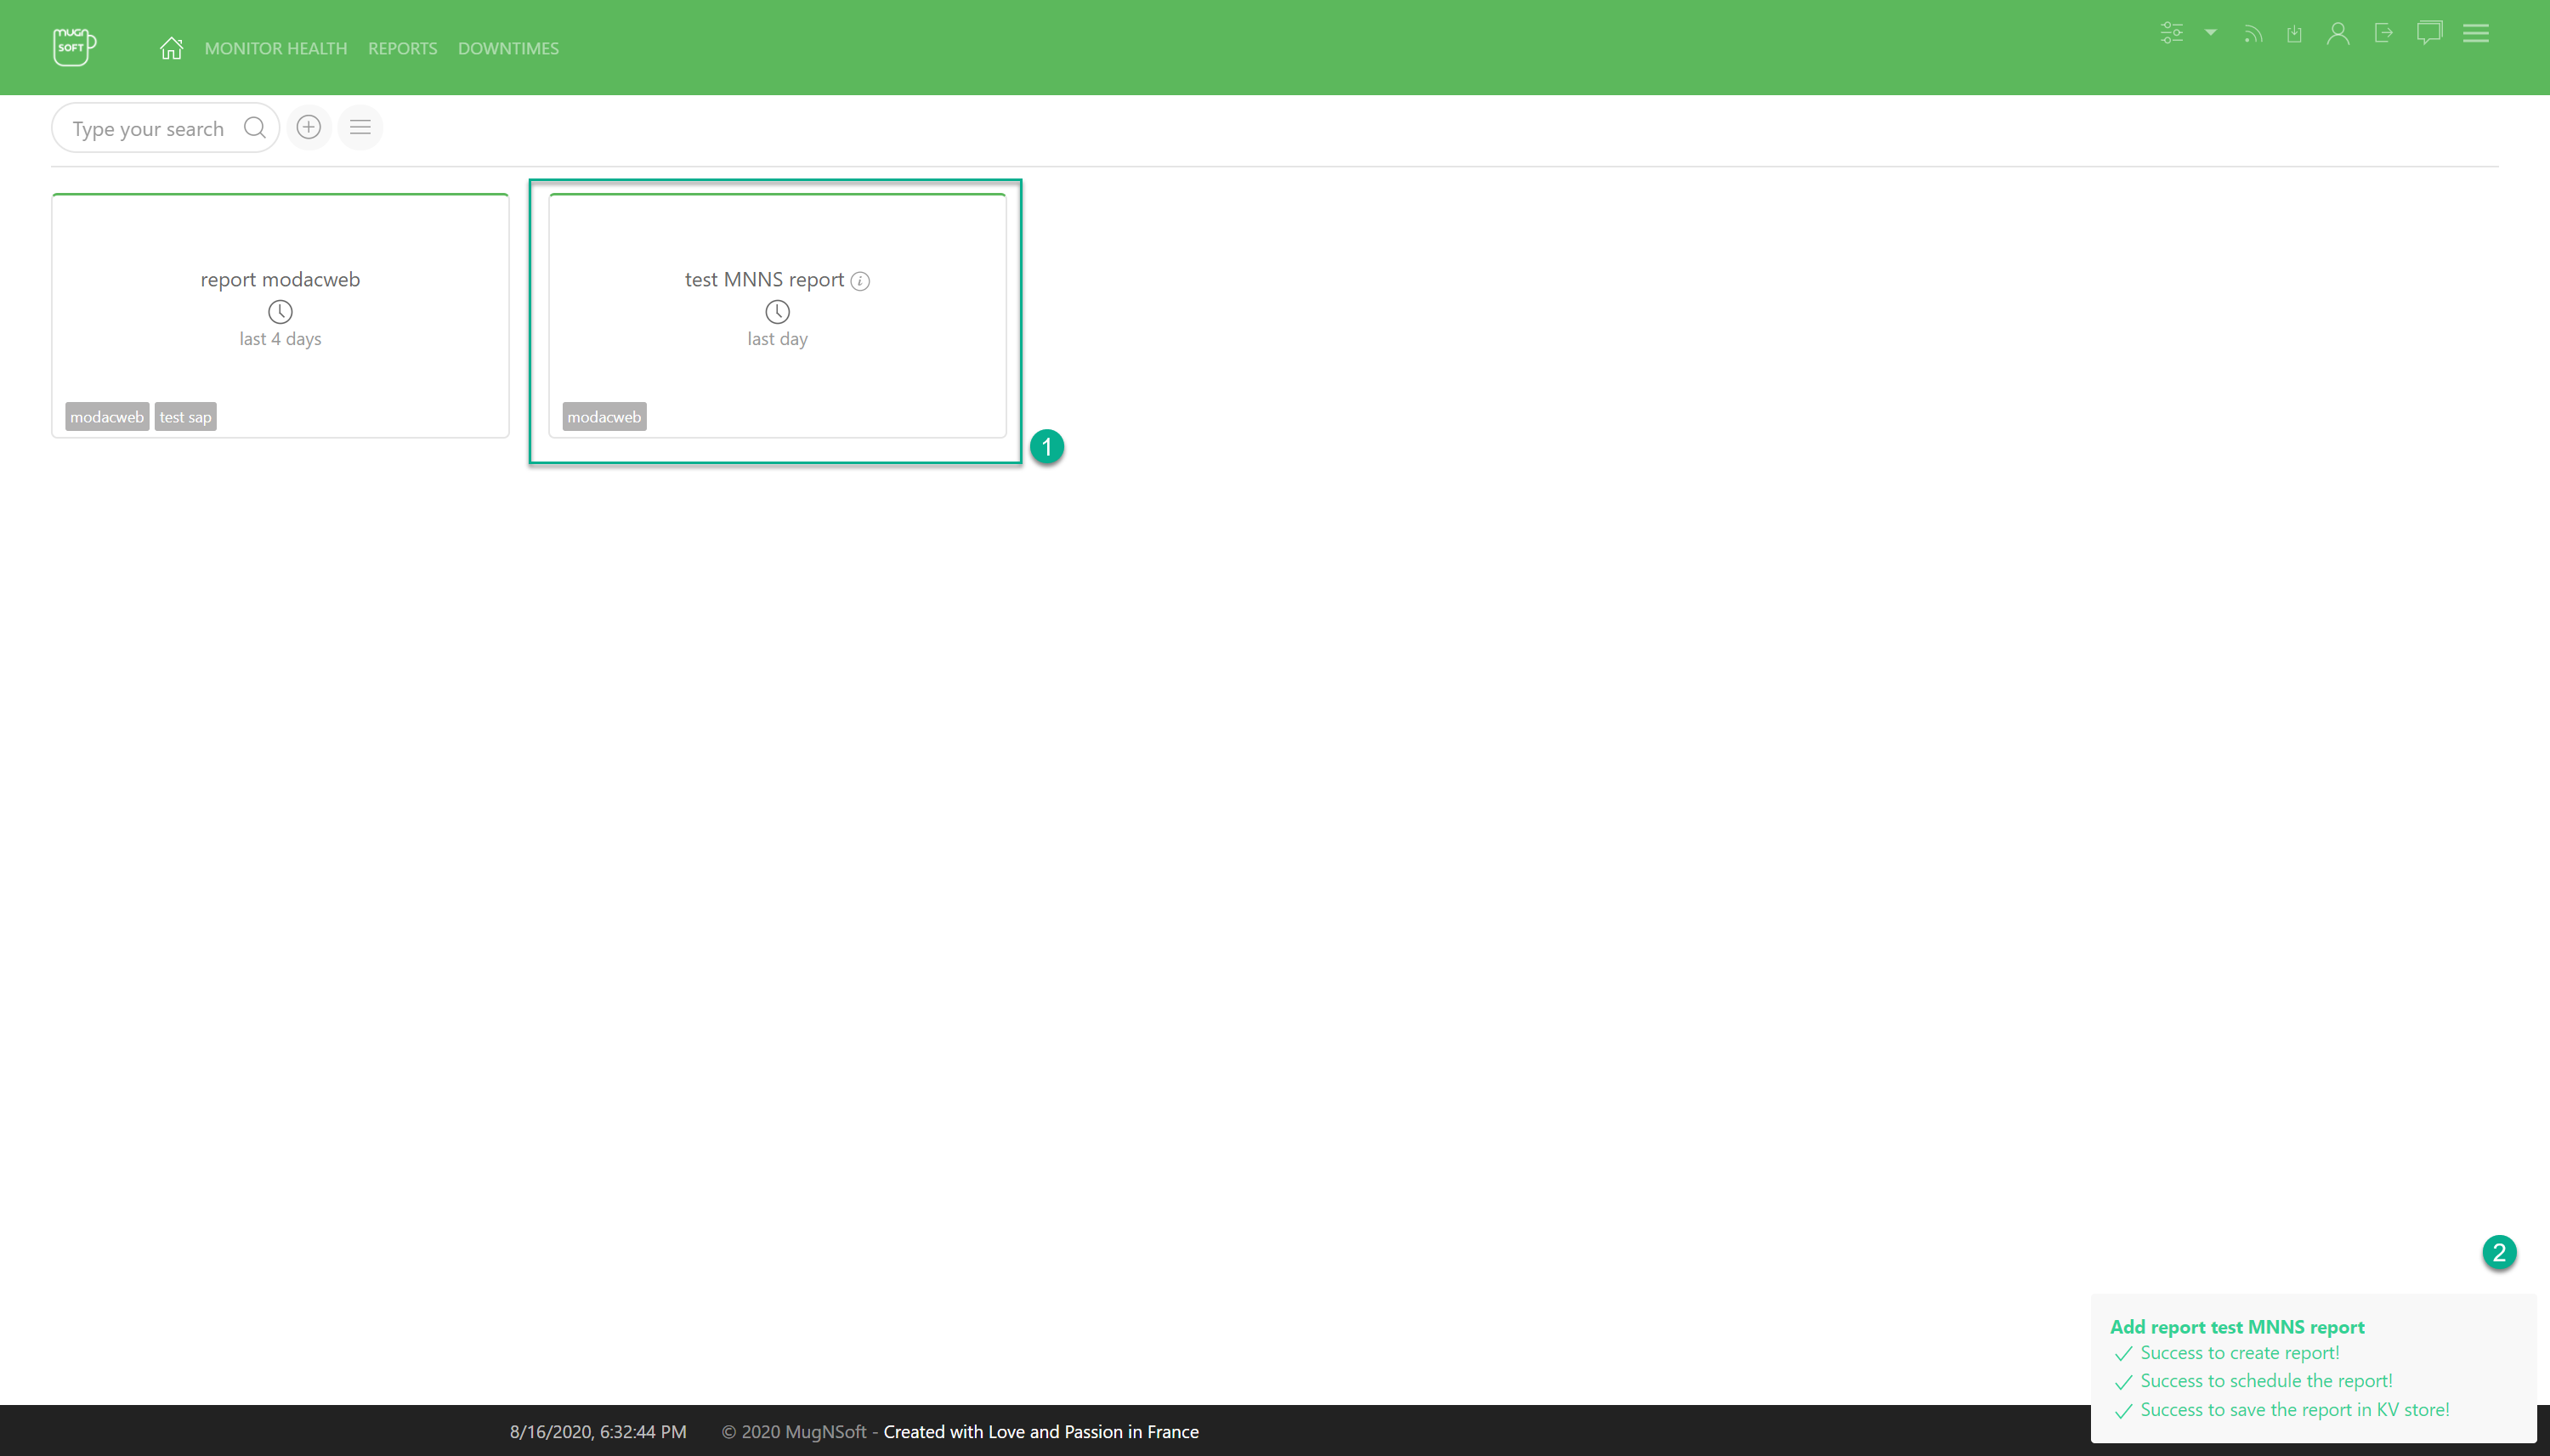
- The new report appears in the list
- A notification window box will appear at the right corner

Edit a Report
- Click on the pencil icon

A. Go to the Settings panel
- Edit the reportname, state (enabled/disabled), description.
- Edit monitors and/or tags fields for this report.
- Edit recipients emails, the Data Range over which the data should be collected, edit the scheduled date time.
B. Click on update

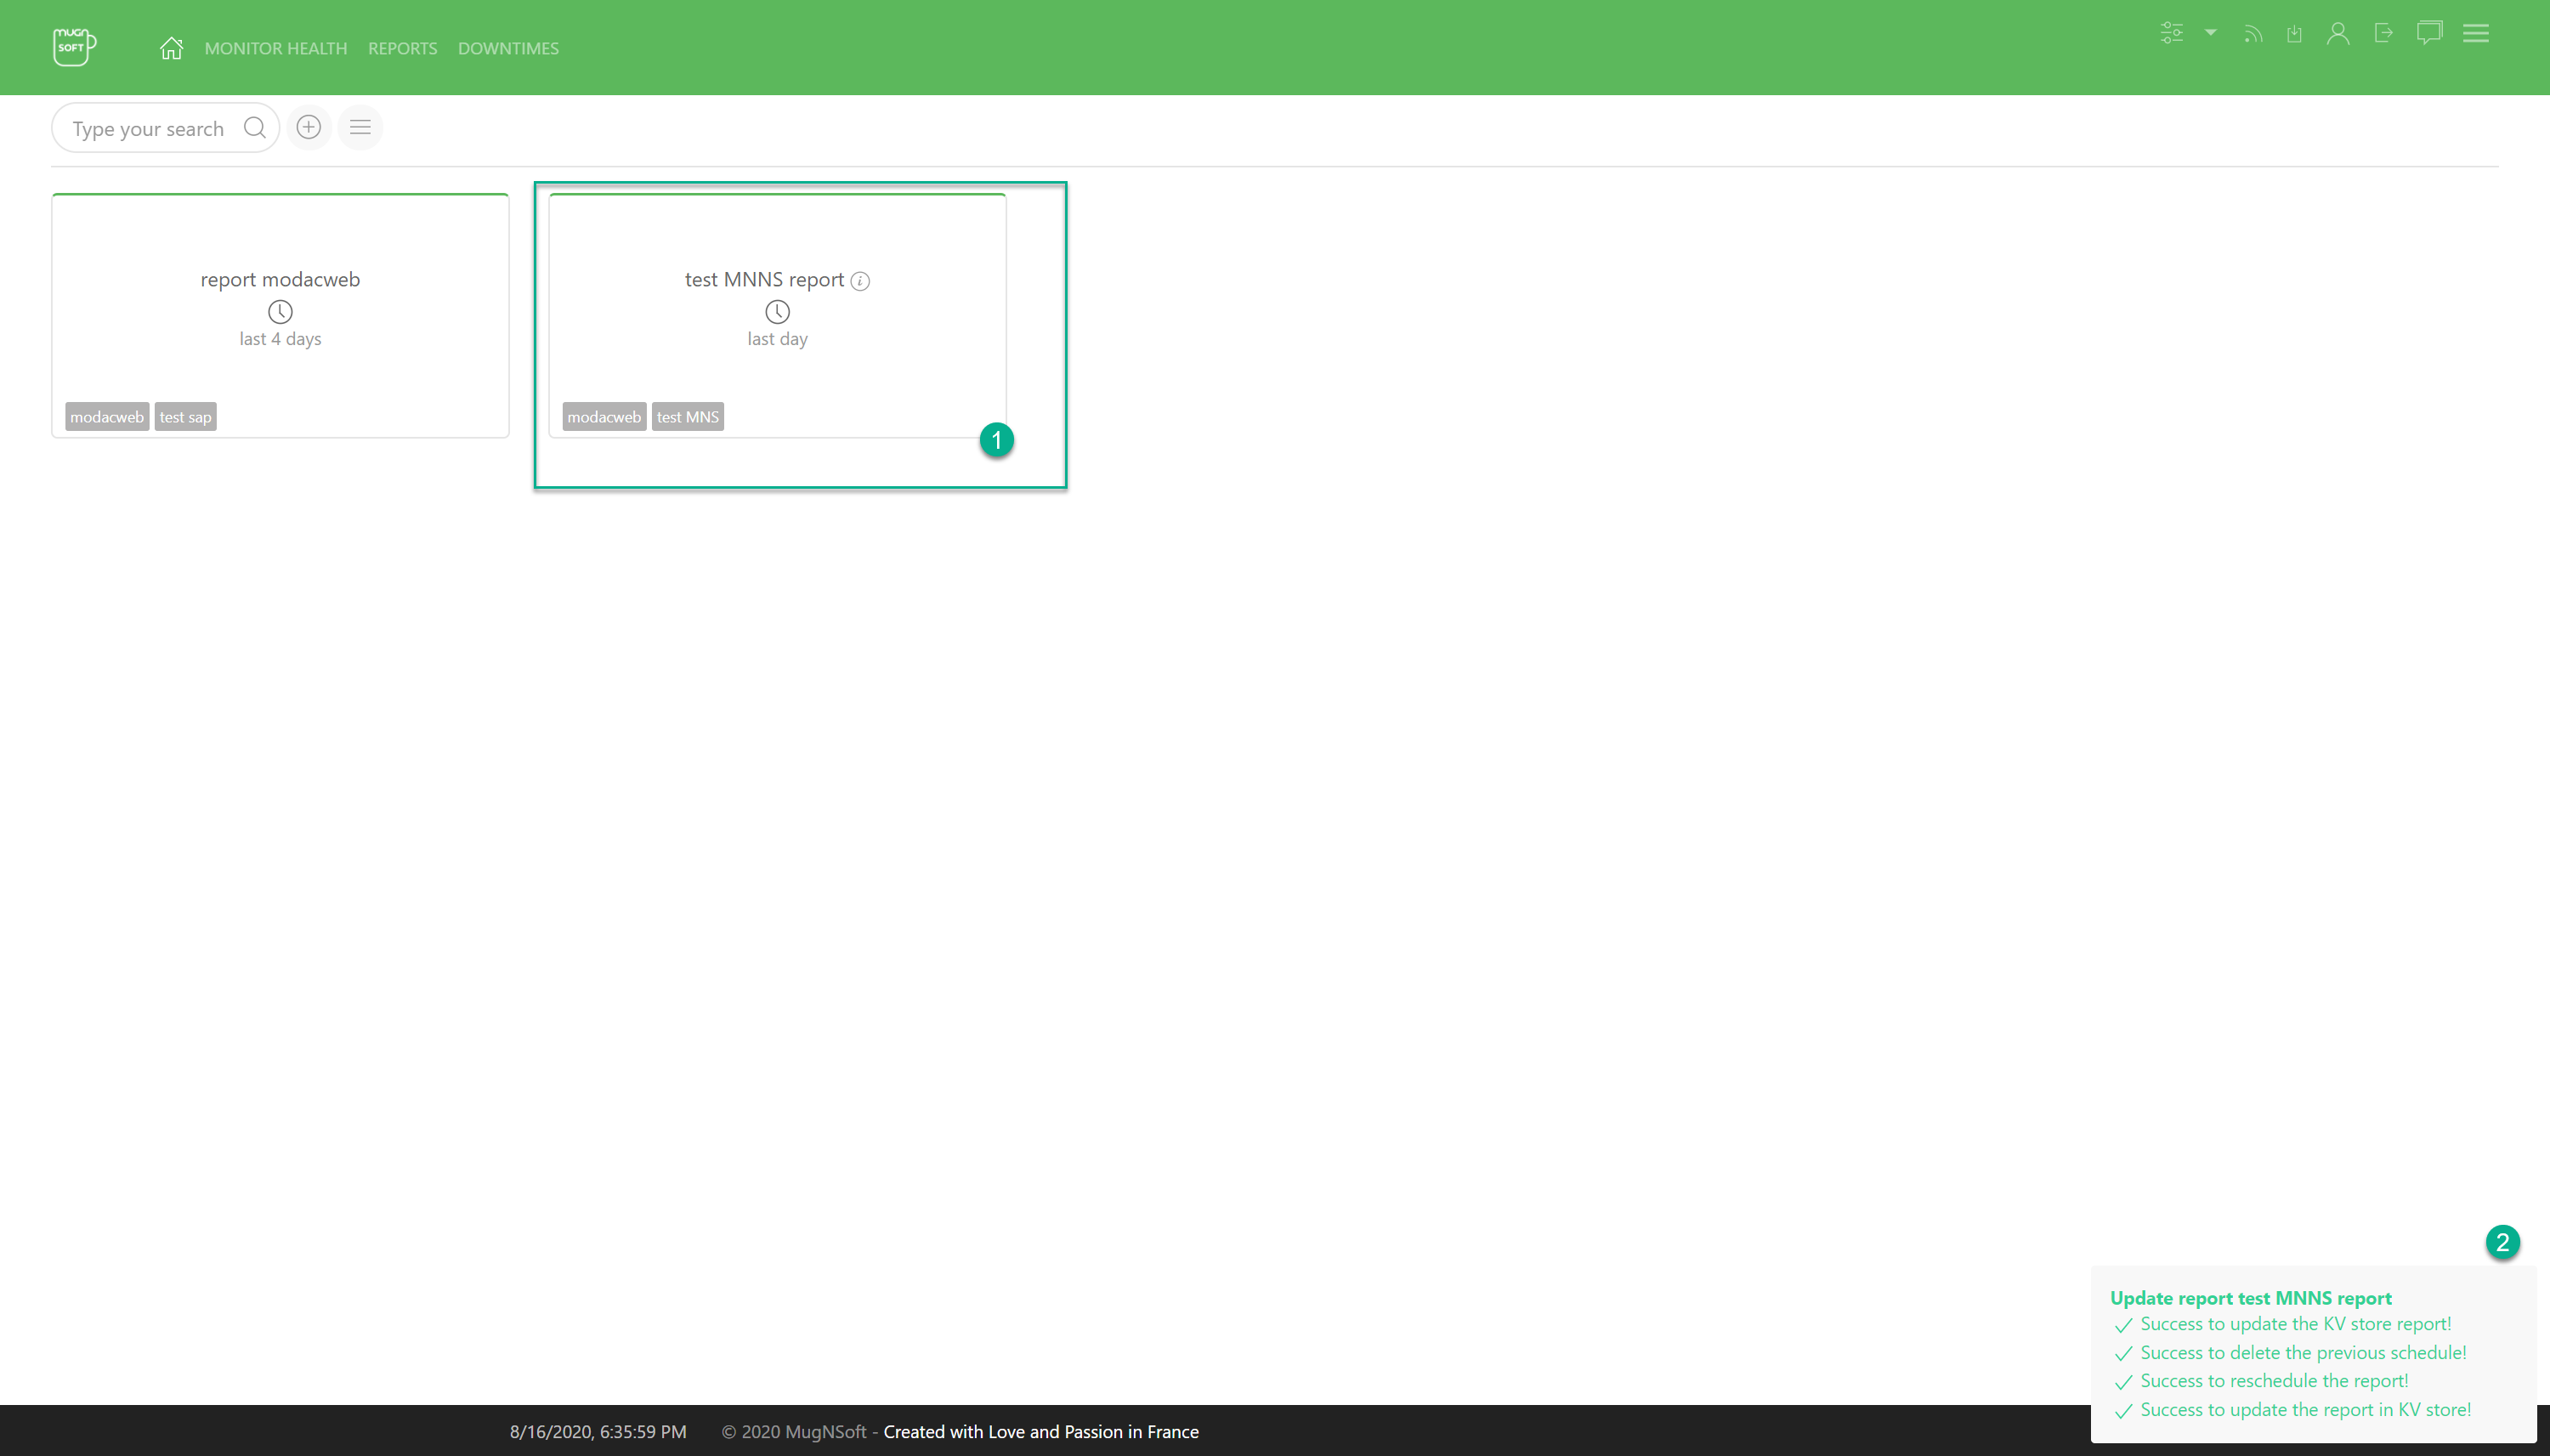
- The new tag should be visible in the report list
- A notification window box will appear at the right corner

In the below screenshot, we can see:

- A enabled report (green line at the top of the report’s tile)
- A disabled report (red line at the top of the report’s tile)
Send immediately a Report
- click on the mail icon

- Enter the recipient email address
- and click OK

- Confirm the recipient email address

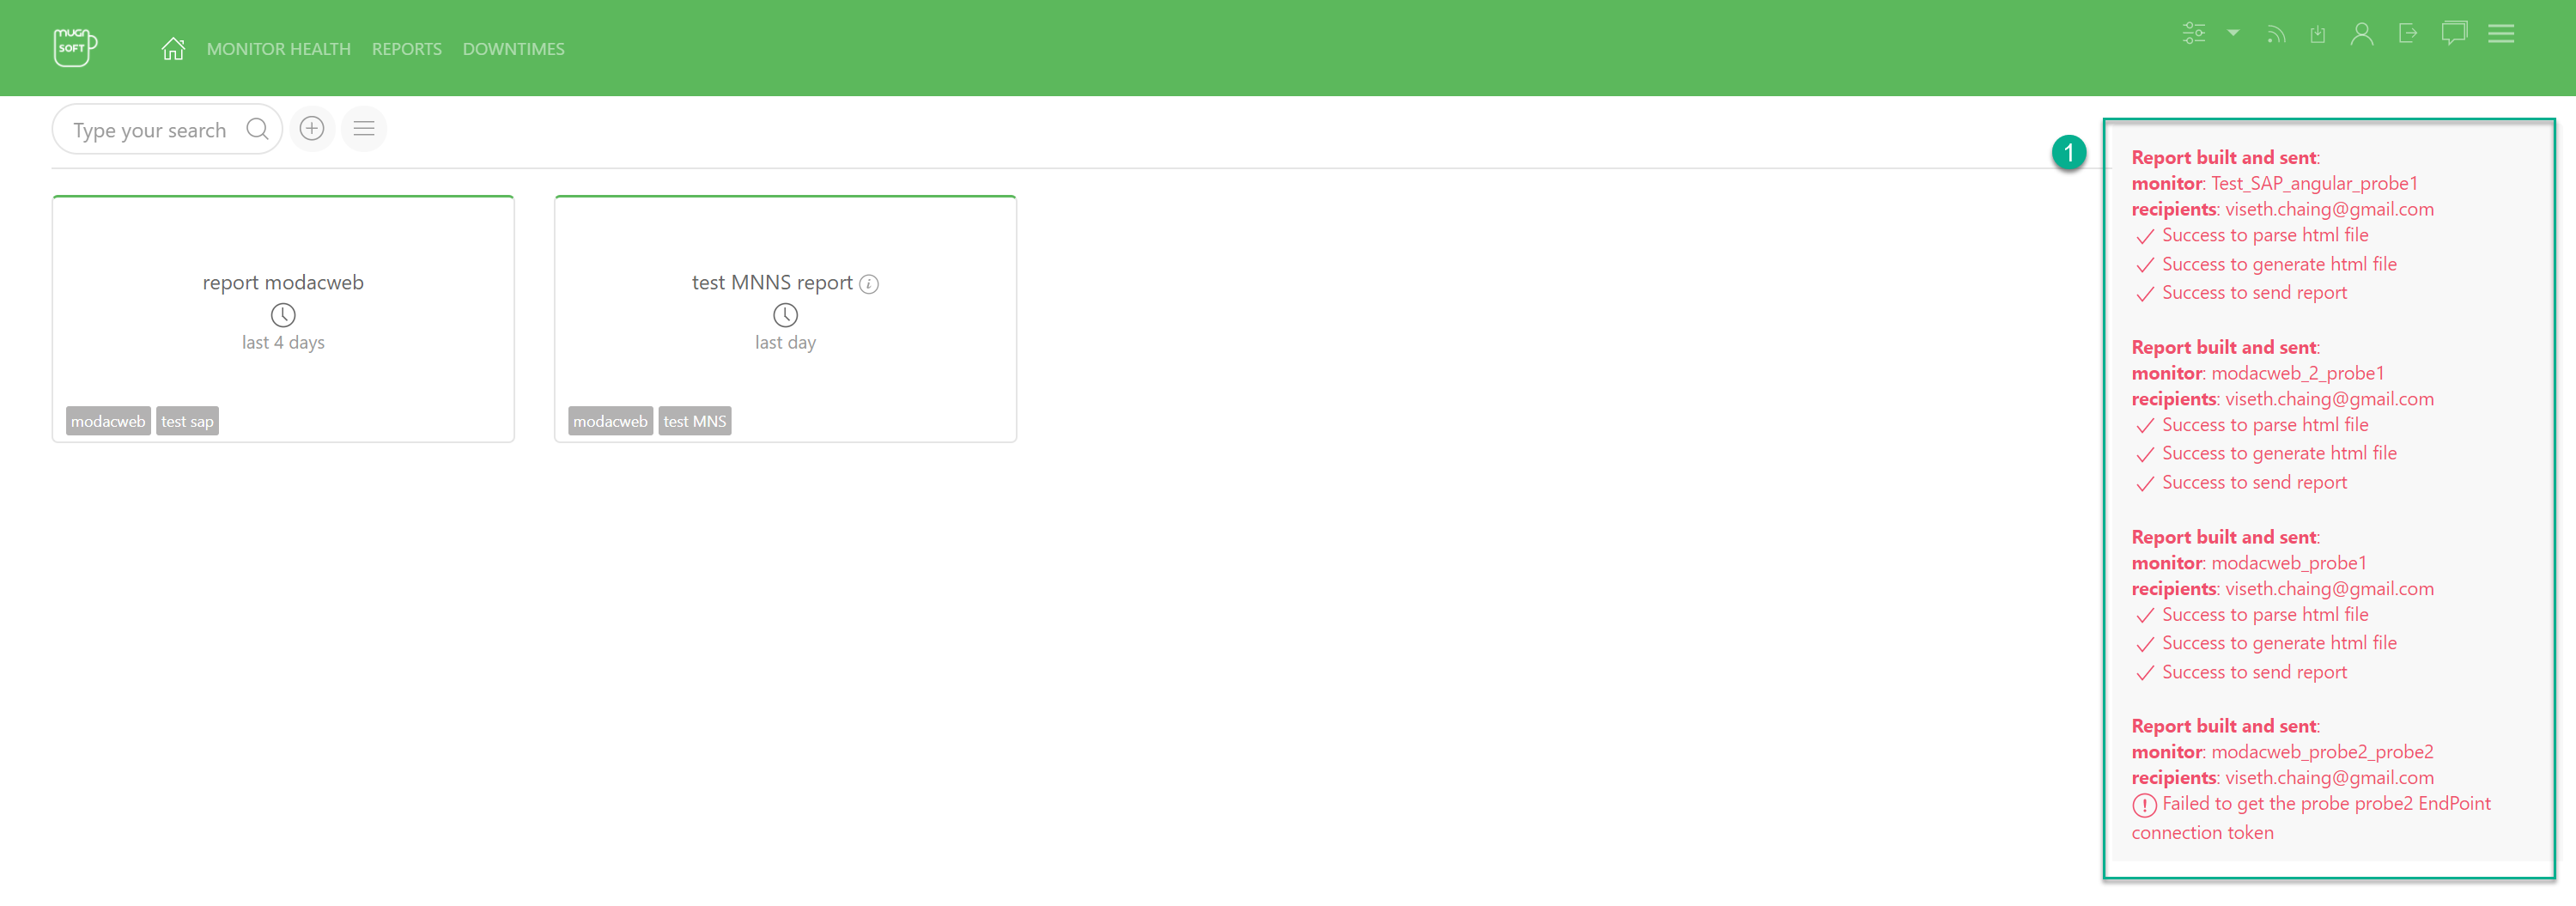
- A report will be built and sent for each individual monitor of the list of monitors. Their status will be displayed in the notification window.

Delete a Report
- Click on the trash icon

- Confirm the deletion

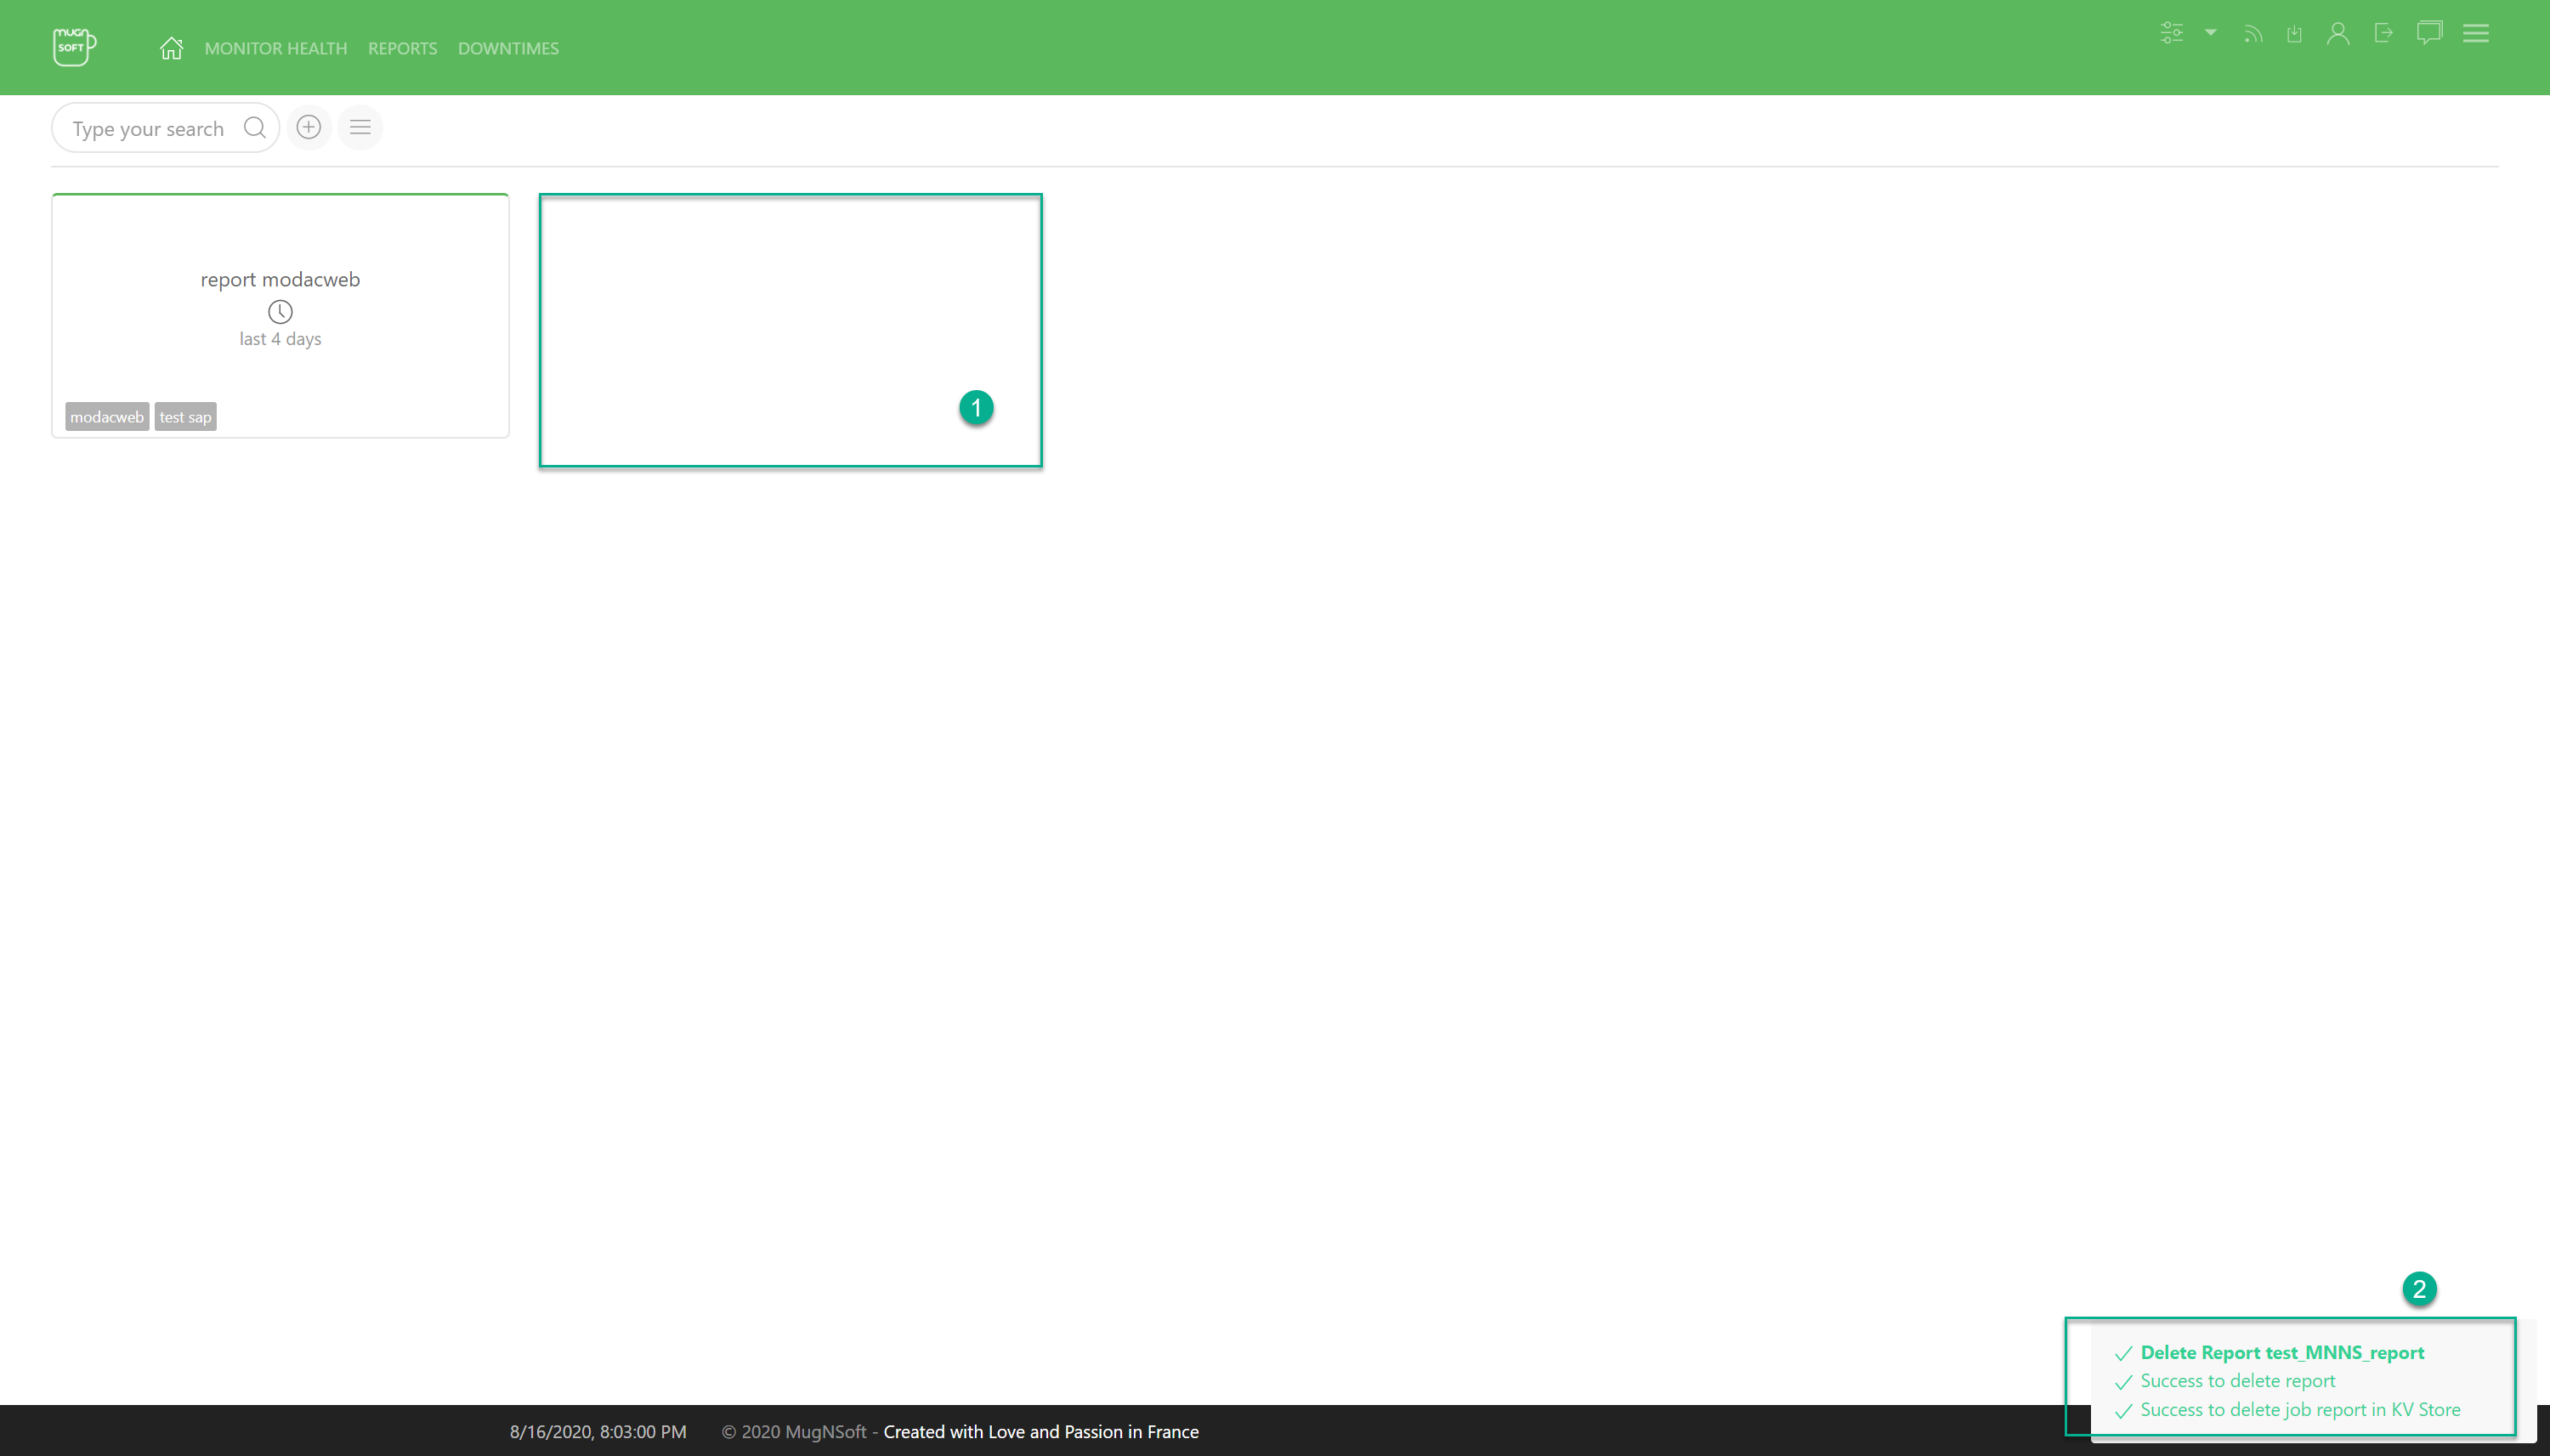
- The report is no longer in the list
- The deletion status is displayed in the notification box

Filter reports
We can filter reports based on their state (enabled/disabled) or their name.
- Click on the given button to toggle the filter
- Click on any of these value to filter based on the state
- Type in case sensitive pattern (part of the reportname, tag, monitor) and type enter

- Type in “MN” and type enter
- Reports matching this criteria should appears in the list
