Log in for the first time
In this chapter we will walk you through the basic steps of defining a scenario monitor.
Log in for the first time
On the MNS Webserver using localhost or browse to the MNS Webserver’s URL.
- Open your MNS Webserver’s web browser and navigate to https://localhost:9090/. 9090 is the default HTTP port that MNS Webserver listens unless you’ve configured a different port. Use HTTPS if you have configured SSL certificates.
- On the login page, type admin for the username and password. These are the default admin user and password.
- You should be now logged in!
Note:
We strongly encourage you to follow Mugnsoft best practices and change the default admin password straight head.
Don’t forget to record your credentials!
Don’t forget to record your credentials!
Add some MNS components
Add a MNS Monitor
- once logged in, click on the server icon in the top level menu

- click on the “plus” icon button

- fill in the settings form
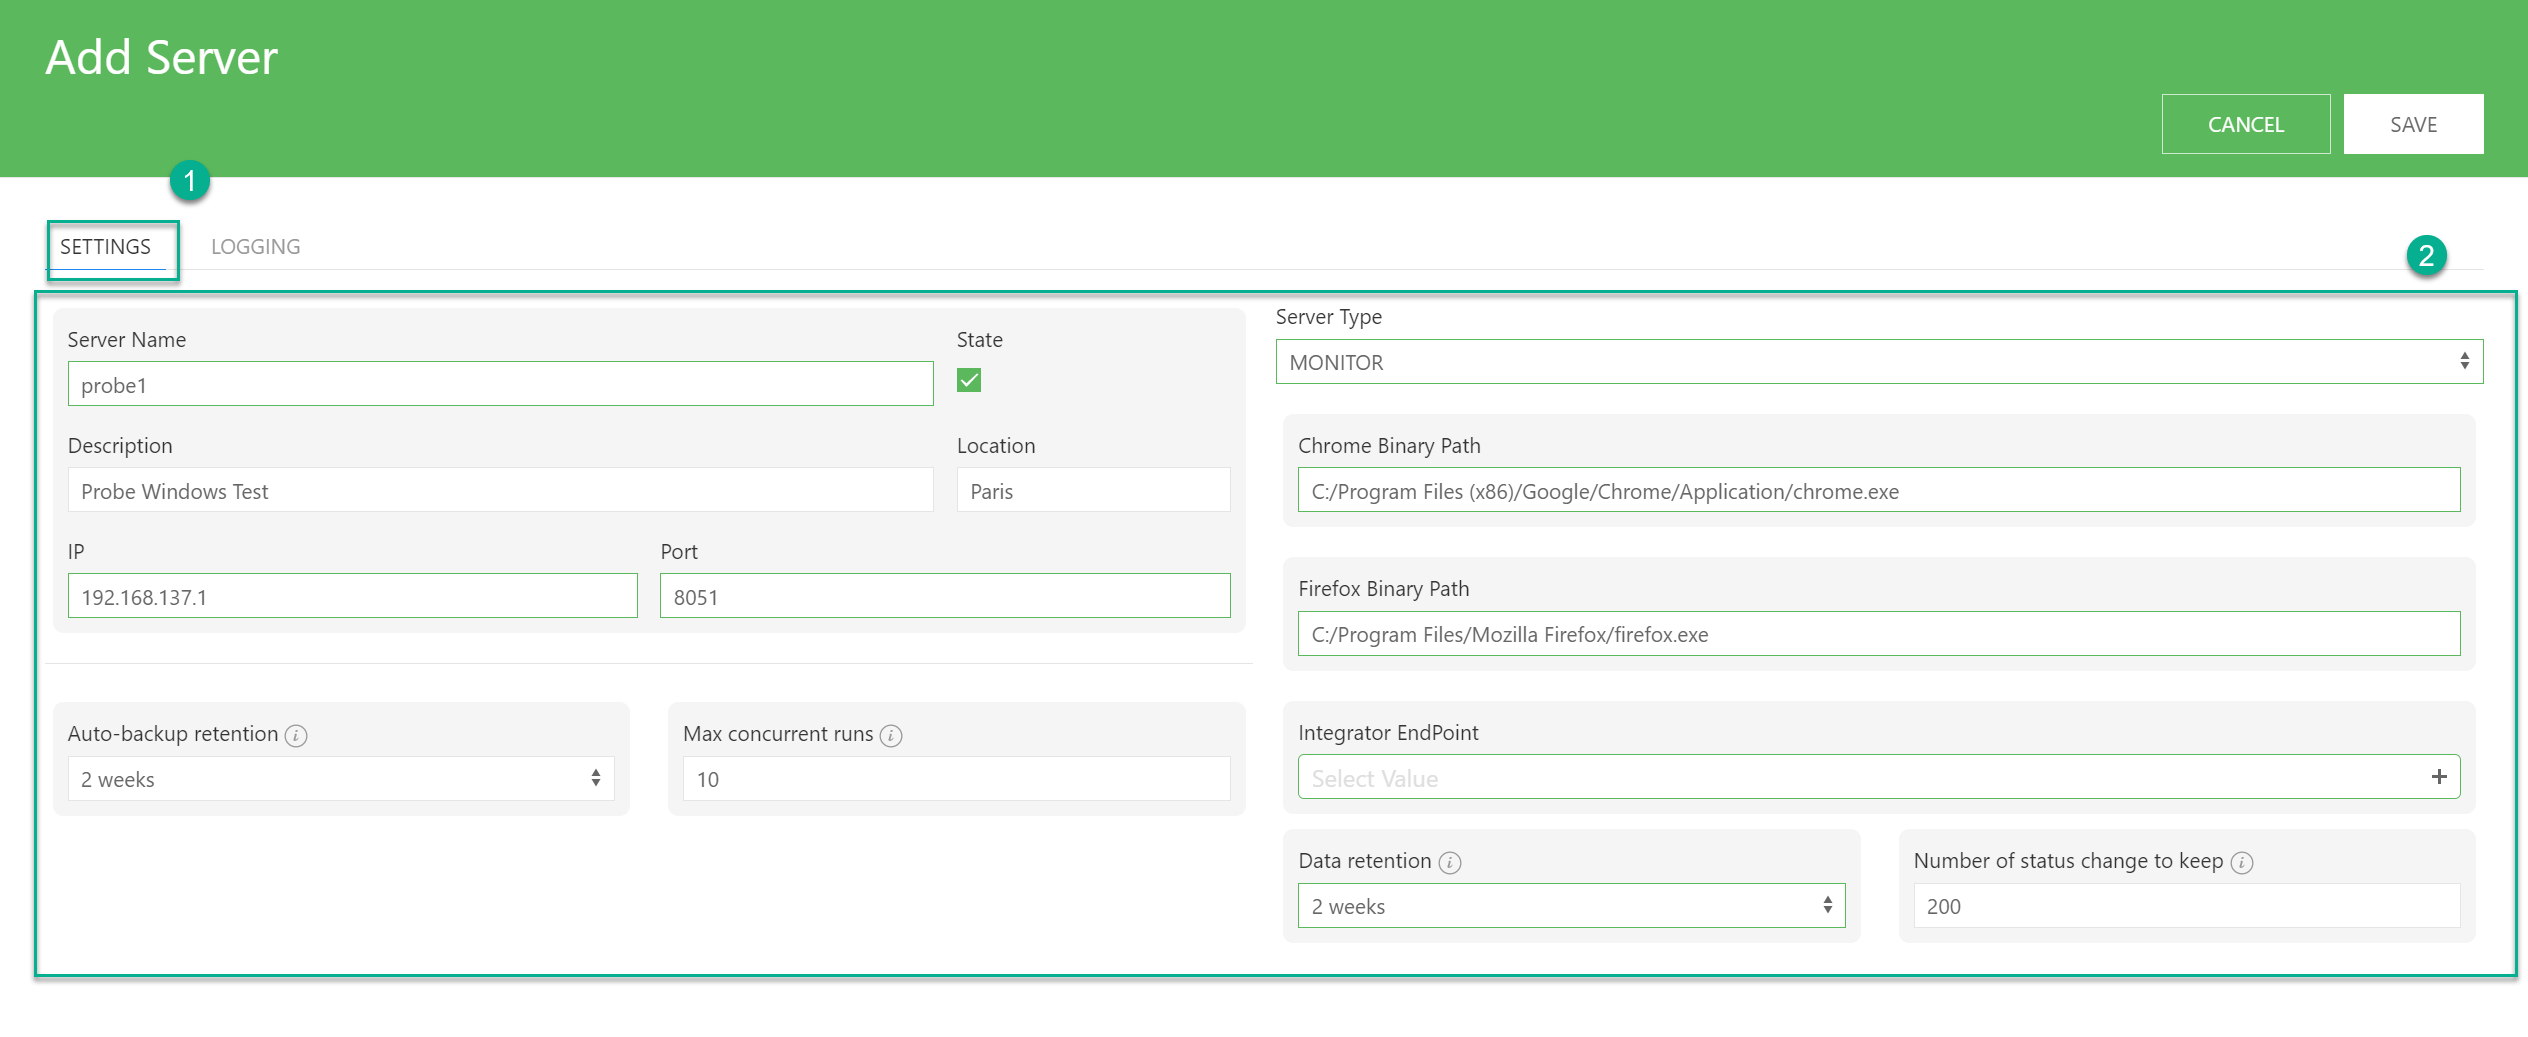
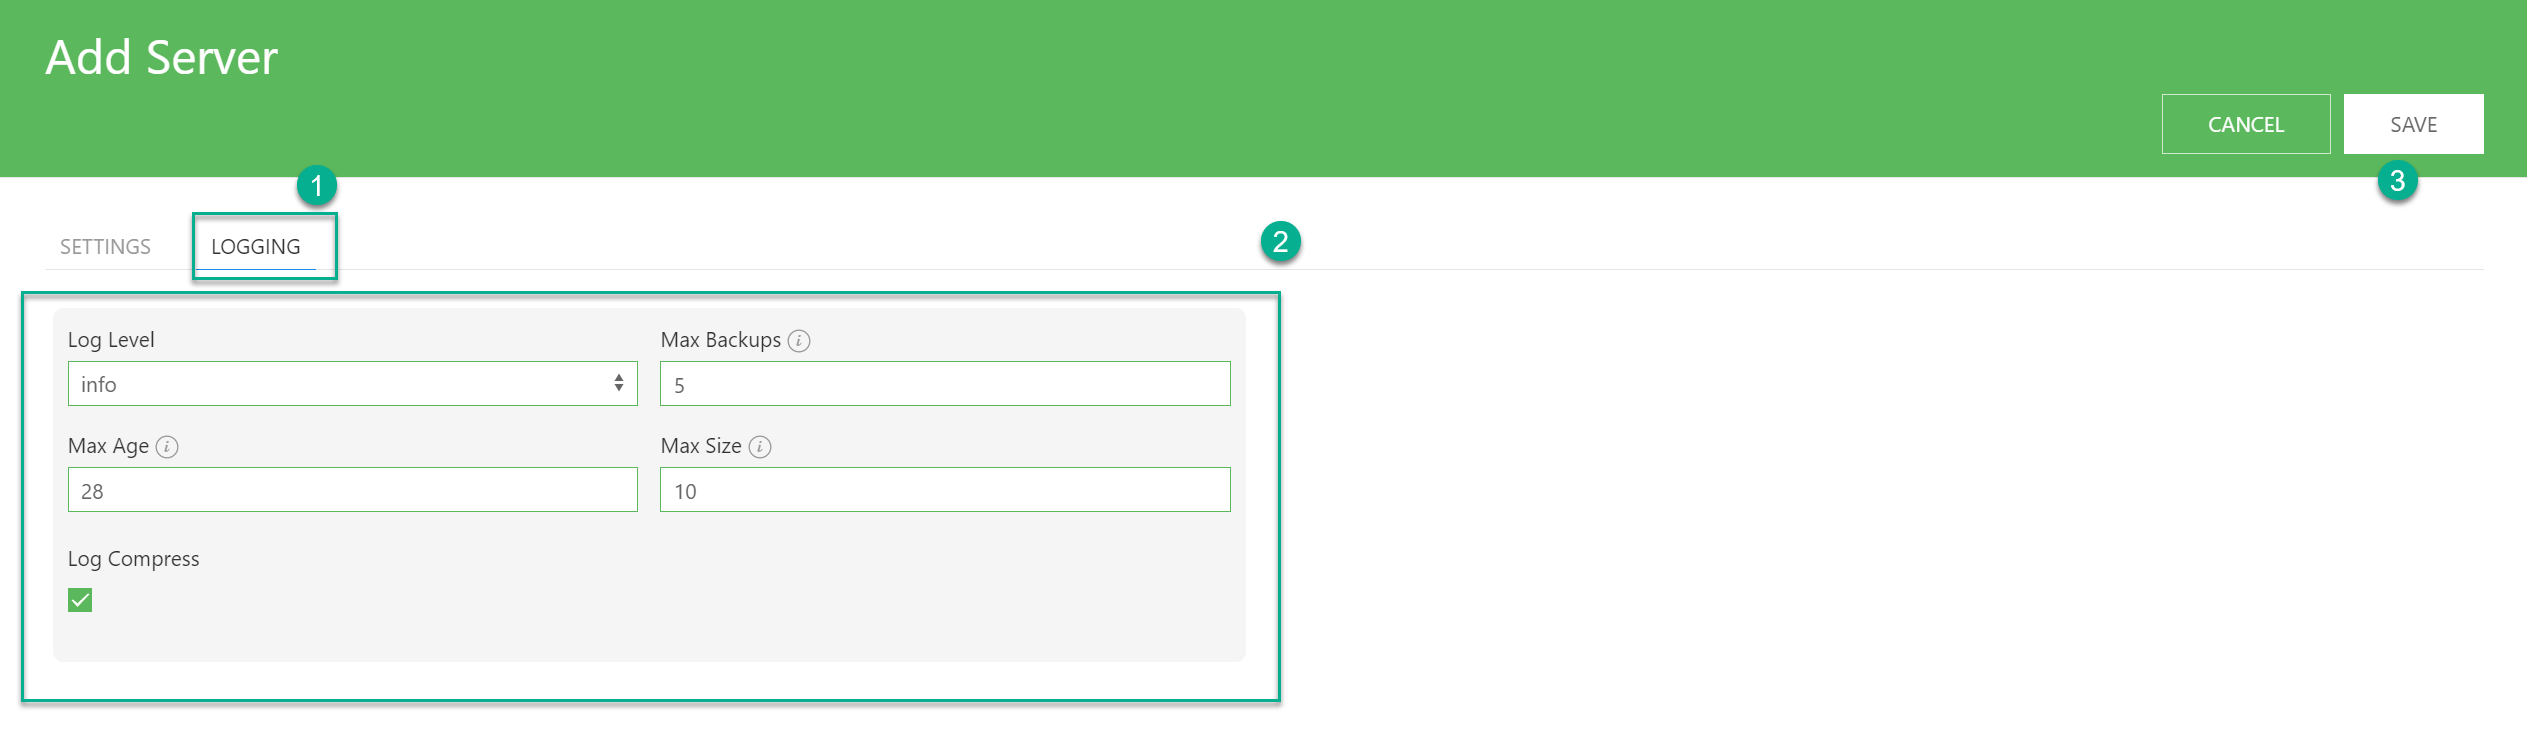
- fill in the logging form, and click save
- The MNS Monitor should appear in the list
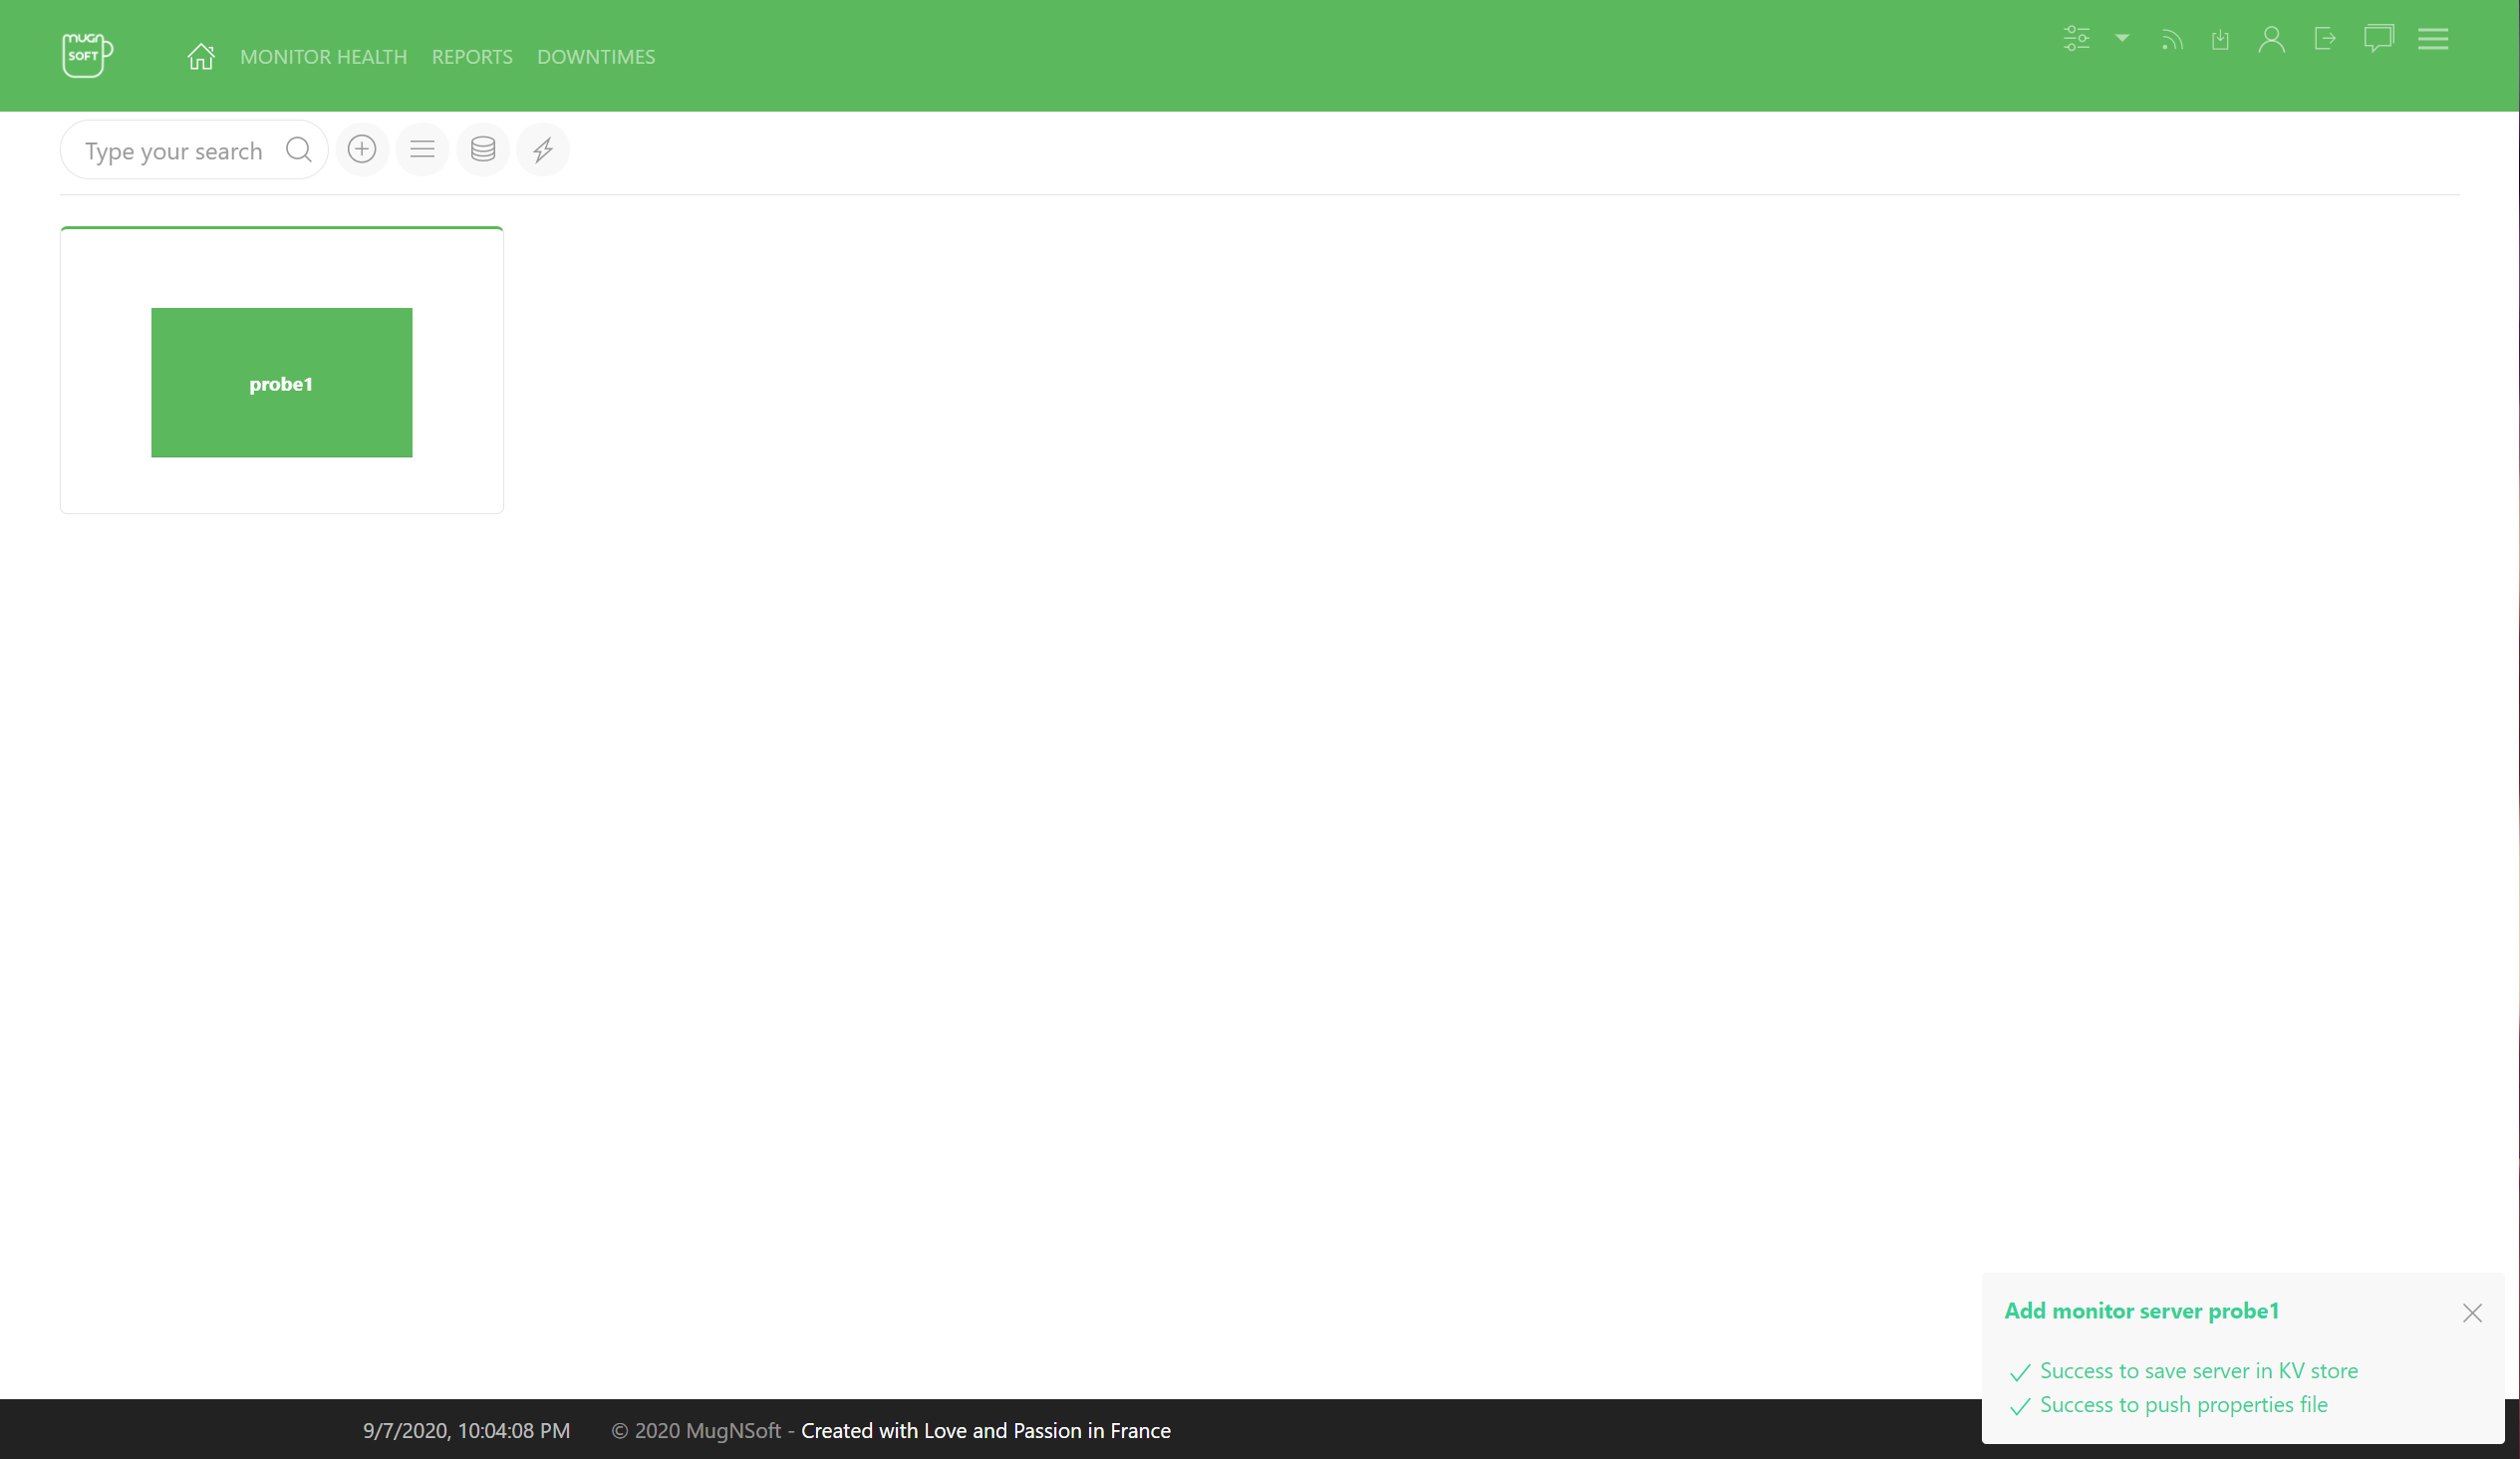
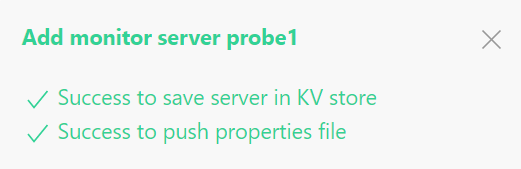
At the right bottom of the page, you should see the below status
Add your first monitor
A. Go to the “Home” icon
- click on the “plus” icon button

- fill in the settings form

- fill in the script

- fill in with any action scripts and click save

At the right bottom of the page, you should see the below status

- the new monitor should appear in the list
